Monday, June 25, 2012

Isabella's Room

So here is Isabella's room (yes, finally) As I said earlier it's out of my normal comfort zone with decorating it but I am really happy with how fun it turned out.  I still need to complete some finishing touches but I figured if I didn't show you all now it might never happen! Please feel free to skip all of the writing and just look at the photos! 
This is the wall the door is on (it's to the left of this painting, the door you see is the closet)
The painting in this picture is what Isabella is named after. It's by James Christensen and it's one of my favorite pieces ever. Uber bought it for me right after we were married and Mum framed it. So I figured at least for now it has to be in her room. 
I've been seeing the "I am a child of God" prints all over the place and I really liked it so I made one in photo shop and had it printed locally. The style is copied from this etsy seller I just color matched the text in mine to the colors in the room.  (please note I made it for personal use only) I actually really wanted to order this print to hang with it but currently she only offers it in 8x10 with is too small.
The mobile which I showed you all here.
The crib skirt fabric is Framed Sea Glass from Anna Maria Horners line LouLouThi. 
I had all sorts of issues in this space since we didn't want to paint and the 9 ft ceiling just made me feel like everything looked blah and short and squat so I started out with this (excuse the iphone photo...also note the bat in the crib... this was before Isabella arrived) I was happy with it but not thrilled. Then late one night while I was up with Isabella I came across this featured on a blog which lead me to this blog seriously could it have been any more perfect?
 So here is my version. I already had the Martha Stewart pinwheels so I had to work with what I had (unfortunately because the party store versions are so much cheaper!)
I LOVE LOVE LOVE this wall! It matches her quilt and brings the color up to the ceiling.

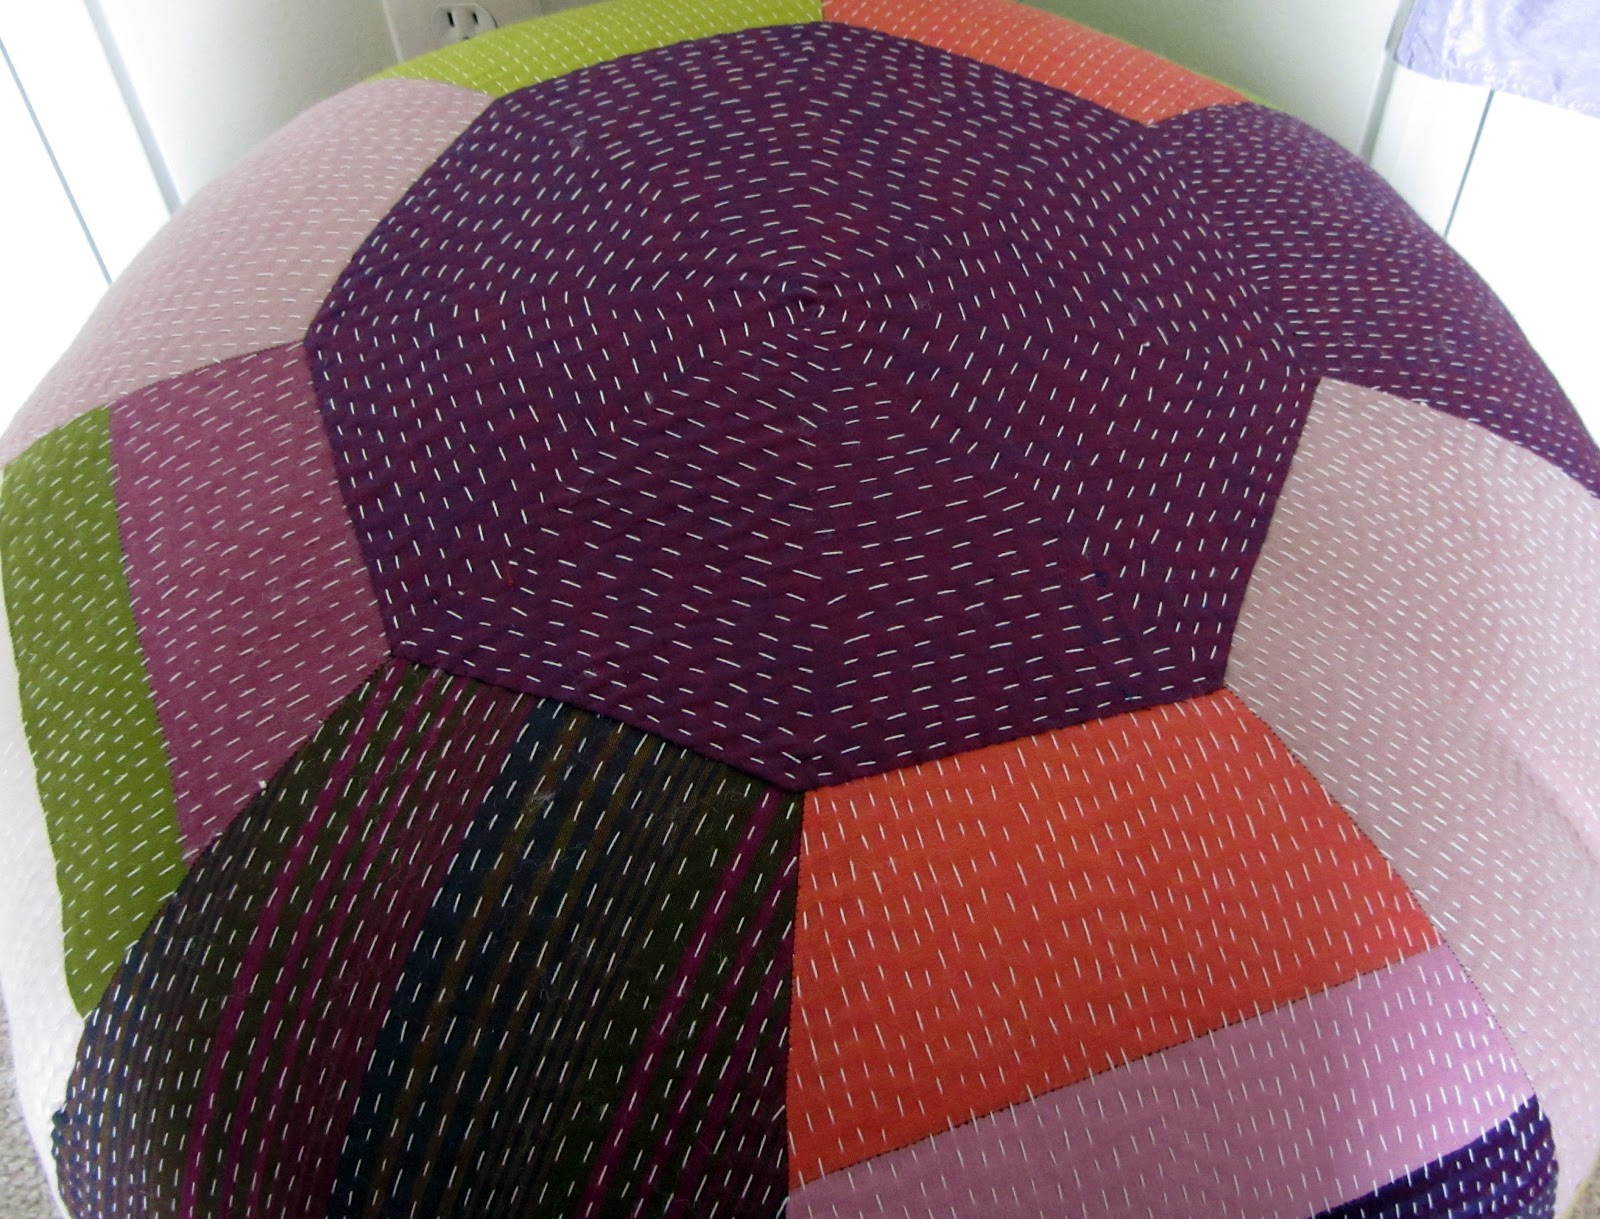
The ottoman from our last post. 
This Begonia was a gift for Isabella. It's doing absolutely gorgeous in her window... The beautiful miniature rose that was also sent, not so much it's gone to live with my mom and I am hoping she can revive it because it was also stunning. 
I couldn't bring myself to get rid of this corner cabinet so it's currently living in her room. The balls and poufs were an addition before the flower wall. That's about 3' of space and it looked bad with nothing there so I decided to make it into a 
NIGHT LIGHT! (update: tutorial here) I don't leave it on all night this is just what I turn on when I come into the room. It gives enough light to change her and see my way around but not enough to wake either of us up. 
I lined the back of the corner cabinet with gift paper from World Market. The pink ribbon is from Martha Stewart's Michael's line a few years back it's adhesive. On the shelves are a bunch of random keepsakes. The stained glass piece is supposed to be hanging... lost one of the pieces of chain in the move. And I still haven't printed pictures for the frames. 
I had these two frames that needed art work so I made up these (based off of these prints here once again for personal use only) not sure if these will stay permanently I just love the song and the design and needed something for now. I want to find hooks to hang under these... someday 
Here's a quick picture of the girl in her room. She's wearing this dress made by Grandma. She is growing so fast! 
So there you have it. It's not done but it's done enough for now. I really want to get on with it and do some other projects... not really sure what yet! 
Hope you all enjoyed. Sorry for being SO LONG WINDED. 


Friday, June 22, 2012

Moroccan Pouf

I finally completed my last project for Isabella's room (not that I am actually done in here but when am I ever done anywhere?!) I wanted a foot stool and instead of acting like a normal person and finding one to buy I decided to make one. It's in the style of Amy Butlers gumdrop pillow (or what non-crafters would call a Moroccan pouf) but not in anyway the dimensions of it. It slightly larger then I bargained for at over 24" in width and height. I actually modified the pattern pieces from this BHG tutorial

 I really like the way it turned out. Though as you will see soon this whole room is kind of outside my normal decorating comfort zone. I really wanted this space to be fun and bright and colorful... I think I achieved that.  And when you start with something like my peacock quilt it can get busy fast! 
 So inspiration for this craziness? Well it all started when Mom and I were walking through West Elm and saw these really awesome one of a kind throws that were hand quilted and created from large pieces of fabric - which I now can't find online argh! But I've seen the style there and at Ballard designs. Beautiful stuff. So I wanted to do the same style on the pouf. I used shot cotton (from purl soho and a local store) and made all of my side pieces then I spent the next month and a half (blech!) adding my favorite detail to it, I think it's called pick stitching? Anyway it doesn't actually take that long to do this stitching it's just that the pouf is SO large and to get the look I wanted the stitching so SMALL! Each row is a 1/4" or less apart. So yes I am very excited that this project is complete.  
Full room details coming shortly... finally!


Wednesday, June 20, 2012

Invitations

I have had the pleasure of working on two different invitations recently. This first one was SO fun to get a chance to do. I was contacted by a German company that saw Micah's invites and asked to create their invitations for a conference that will be held this year in Munich. 
These first two pictures are of the card part of the invite. The company graphics are their images I just arranged them into the card. 

 of course all the important information is removed. 
The fun part of the invite though is the insert-- 

 Man do I wish I were invited to this conference!! 

But for a party I was invited to (because I helped throw it... haha) 
Don't worry I changed all the important info on this invite! We kept the invite simple and preppy- I really like the way it turned out. This is actually a post Isabella project so it was done in my very limited free time! 

 I thought the shower went extremely well. The food was DELICIOUS... even if I do say so myself. I will have to get a hold of a few of the recipes and share them with you. Just in case you need party finger food that is amazing. 
Showers are so much fun. It also helps when you are throwing them with awesome people!


Monday, June 18, 2012

Kitchen Aid Cover revisited

WOW who knew how little happens with two kids? Well probably all of you! I have been working on finishing one project since Isabella was born... ridiculous!!!.... of course when I finish it you will see why it's taken me so long... my days consist of making the kids happy and trying to keep my house clean. FUN. 
Good thing they're so cute! Here's the required baby pictures. I've got to take some more pictures of this child, other then snapshots I haven't taken any since the last ones I showed you. She is now somewhere between 10-11 pounds, serious chunk. 
 Micah truly seems to just love her (hoping this continues) he chose to play with a doll the other day and was so proud to feed it, burp it, pat it and show it off to people (lets not forget the obligatory pulling on its toes...lol) he gets a little upset when someone holds her that he doesn't think should be. And always makes sure we don't forget her when were leaving.
 Hand-knit goodness from her Auntie seriously gorgeous.
So here is a pre-Isabella custom order that never got blogged....

In a country/chicken theme. 
 It was made for a Artisan Mixer- which is why it's looking a bit short while being modeled by mine.
I don't know if you can see but the black hexies are actually a chicken wire fabric. 


Wednesday, June 6, 2012

Recess Animals

You might remember in March I showed a custom order for bumpers that I made to match a quilt I had in my shop. Well that customers sister contacted me to work on a custom baby present - two patch work animals to match the bedding. 
 She wanted it to match the silhouette on the quilt as closely as possible.
The patchwork is 2" squares - the giraffe is about 18 inches tall. 
The back is a super soft minky.
Just for fun little wool felt hearts were added
I LOVE the way these turned out. This was my first attempt at a stuffed animal so I wasn't really sure what to expect. Custom orders are really the most fun things I would never come up with these projects on my own!


Tuesday, June 5, 2012

Sunday, June 3, 2012

Crafterhours Skirt Week - Simple Maxi Skirt


Jess and I are so excited that lovely ladies of Crafterhours invited us to participate in Skirt Week again this year.  We really appreciate all the hard work that goes into hosting an event like this. They are amazing women with apparently boundless energy. We find them very inspiring, like, all the time.
If you’ve been following along and catching all of the fantastic tutorials so far, you may have noticed that there seems to be a similar mind set this time around…. fun, wearable & easy.  Here at Created Blissfully we are feeling the same.
The hardest part about making this skirt will be picking out your fabric. You’ll want a fabric that is lighter weight and falls close to the body; this is the time to try something like a rayon challis, voile or crepe de chine. Don’t use quilting weight cotton, the gathers will have too much volume, it won’t have a light, flowing look. Go to your local shop and touch the fabrics before you buy. If there are no fabric shops with apparel fabric in your area, go to a ready made clothing store and check out the types of fabrics they use and how they look and feel, then when you search on-line, you have a better idea of how certain fabrics will drape. Though there are times when these fabrics are more expensive, the plus side is, a lot of apparel fabrics come in wider widths. I shop for a lot of my fabrics herehere and here.

Before you read my instructions, please remember I do not claim to be an expert. I am constantly learning new things from people, so if you have a better way, do it and share it with me!

Supplies you will need – fabric
                                     2 inch wide elastic
                                     polyester thread (this has more stretch to it)

1.      To calculate how much fabric you’ll need measure where you want your waistband to sit and what you want the length of your skirt to be, plus 1 ¼ inches for your hem and waist seam. Cut two rectangles to those measurements. Set aside.
2.       Fit elastic to your waist; make it snug enough to stay put where you want it to sit. Overlap the edges by a half inch.
 Using your stretch zig zag stitch, (see number 13) sew two rows of stitching to secure the elastic.


I used contrasting thread so you could see the stitching. Use the same color thread and you won't see what looks like a mess.
3.          Take your two rectangles of fabric and sew together at the sides.
4.       Sew a gathering stitch a ¼ inch from the top edge of the skirt, starting and stopping at the side seams. Leave long tails so it is easier to pull the threads.

5.      Gather your waist up until it is approximately 5 inches larger than the circumference of the elastic waist band, this will allow your waist band to stretch after sewing. Distribute gathers evenly and sew again at a ¼ inch to set the gathers.
6.       Divide your elastic waist band and skirt waist evenly and mark with pins.
7.       Matching pins, lay skirt on top of the elastic waistband overlapping a ¼ inch and pin together.
8.       Sew with your stretch zig zag stitch. You will want to stretch your elastic out to the ease of the skirt as you sew.  Sew carefully to keep the overlap at about a ¼ inch. I used a white thread so you can see it better, please use a matching thread for your skirt. This leaves a raw edge on the outside of the elastic. It's not up against my skin, that's the way I like it.

9.      Hem skirt.
10.   Wear!
Little Folks and Square Dance by Anna Maria Horner.  I simply cut enough of the smaller motifs to go around the bottom of the skirt and sewed them on. I'd been hoarding this fabric....                                   
Does anyone else wonder what to do with their hands with being photographed? I've decided holding my coffee cup is good.. 

                                        Rayon Challis print from Fabric dot com, no longer available.
Not sure why the only "sort of" decent pictures are the ones where I'm looking at my feet. 
The back edge of the tropical storm made it interesting trying to take pictures.

Of course you can make this skirt any length you want to, personally, I'm just loving the maxi length right now!
Now, if you haven't already, go look at all of the amazing skirts in the Flickr pools!


Friday, June 1, 2012

Felt Dryer Balls - The Update

You may or may not remember the post where Jess talks about felt dryer balls.
I thought it deserved an update.
I've been using them for six months and I love them. Yes, they can sound a bit clunky in the dryer but I believe my clothes are as soft as they were with a chemical softener. 
Yes, sometimes they escape from the dryer but I'm in charge. I round them up and make them go back. If you are trying to reduce the chemicals you use, I cannot recommend these highly enough. In the photo, the middle ball has been in constant use since I started with them. It's a bit fuzzy but I think it will last a long time.
This newest set is for my youngest son and his girl. They use a community laundry, so I also made them a bag to hold the felt balls between laundry days. If you decide to try making some for yourself, tell us how you like yours and put a picture on our flickr page. We love seeing what you do too!