Friday, June 1, 2012

Felt Dryer Balls - The Update

You may or may not remember the post where Jess talks about felt dryer balls.
I thought it deserved an update.
I've been using them for six months and I love them. Yes, they can sound a bit clunky in the dryer but I believe my clothes are as soft as they were with a chemical softener. 
Yes, sometimes they escape from the dryer but I'm in charge. I round them up and make them go back. If you are trying to reduce the chemicals you use, I cannot recommend these highly enough. In the photo, the middle ball has been in constant use since I started with them. It's a bit fuzzy but I think it will last a long time.
This newest set is for my youngest son and his girl. They use a community laundry, so I also made them a bag to hold the felt balls between laundry days. If you decide to try making some for yourself, tell us how you like yours and put a picture on our flickr page. We love seeing what you do too!


Wednesday, May 30, 2012

Hello Kitty

There was some crafting going on... A friend I used to work with requested a Hello Kitty baby quilt. It's so much fun doing custom work because it pushes you outside of your normal project choices! 

 I hope she likes it! The front is Ta Dot by Michael Miller in Berry. And the back is Nicey Jane Hop Dot in Cherry. 

Thursday, May 24, 2012

Isabella update

...or more of a photo dump... because I am busy doing other things right now! 
But here's some random photos from her first week. Hope you enjoy!


Monday, May 21, 2012

Patriotic Garland Tutorial

Thanks for all of the love for Isabella. We are home adjusting to life as four- it's going very well - just very busy! I will try to get some pictures up for you shortly meanwhile hope you enjoy this scheduled post!

It's been a while since I did a tutorial ... or a garland. This one is pretty basic and will work for quite a few holidays hope you enjoy! 
Supplies:
Red, White and Blue Felt by the yard- 1/8 yard of each color. The larger you want the garland the more you will need mine measures about 10 feet long. 
Red, White and Blue Embroidery Floss
Red Grosgrain Ribbon - 3 feet
fabric-tac
Scissors
Needle

Directions:
Using Pattern pieces cut out stars- you will need 2 cut outs per star. Double your felt and cut them out together to make it easier on yourself. Cut out even amount of every color if you would like the garland to alternate red white and blue. 

 Put together the end stars first. Select one red and one blue star set. Cut Ribbon in half and using Fabri-Tac glue ribbon between two stars.
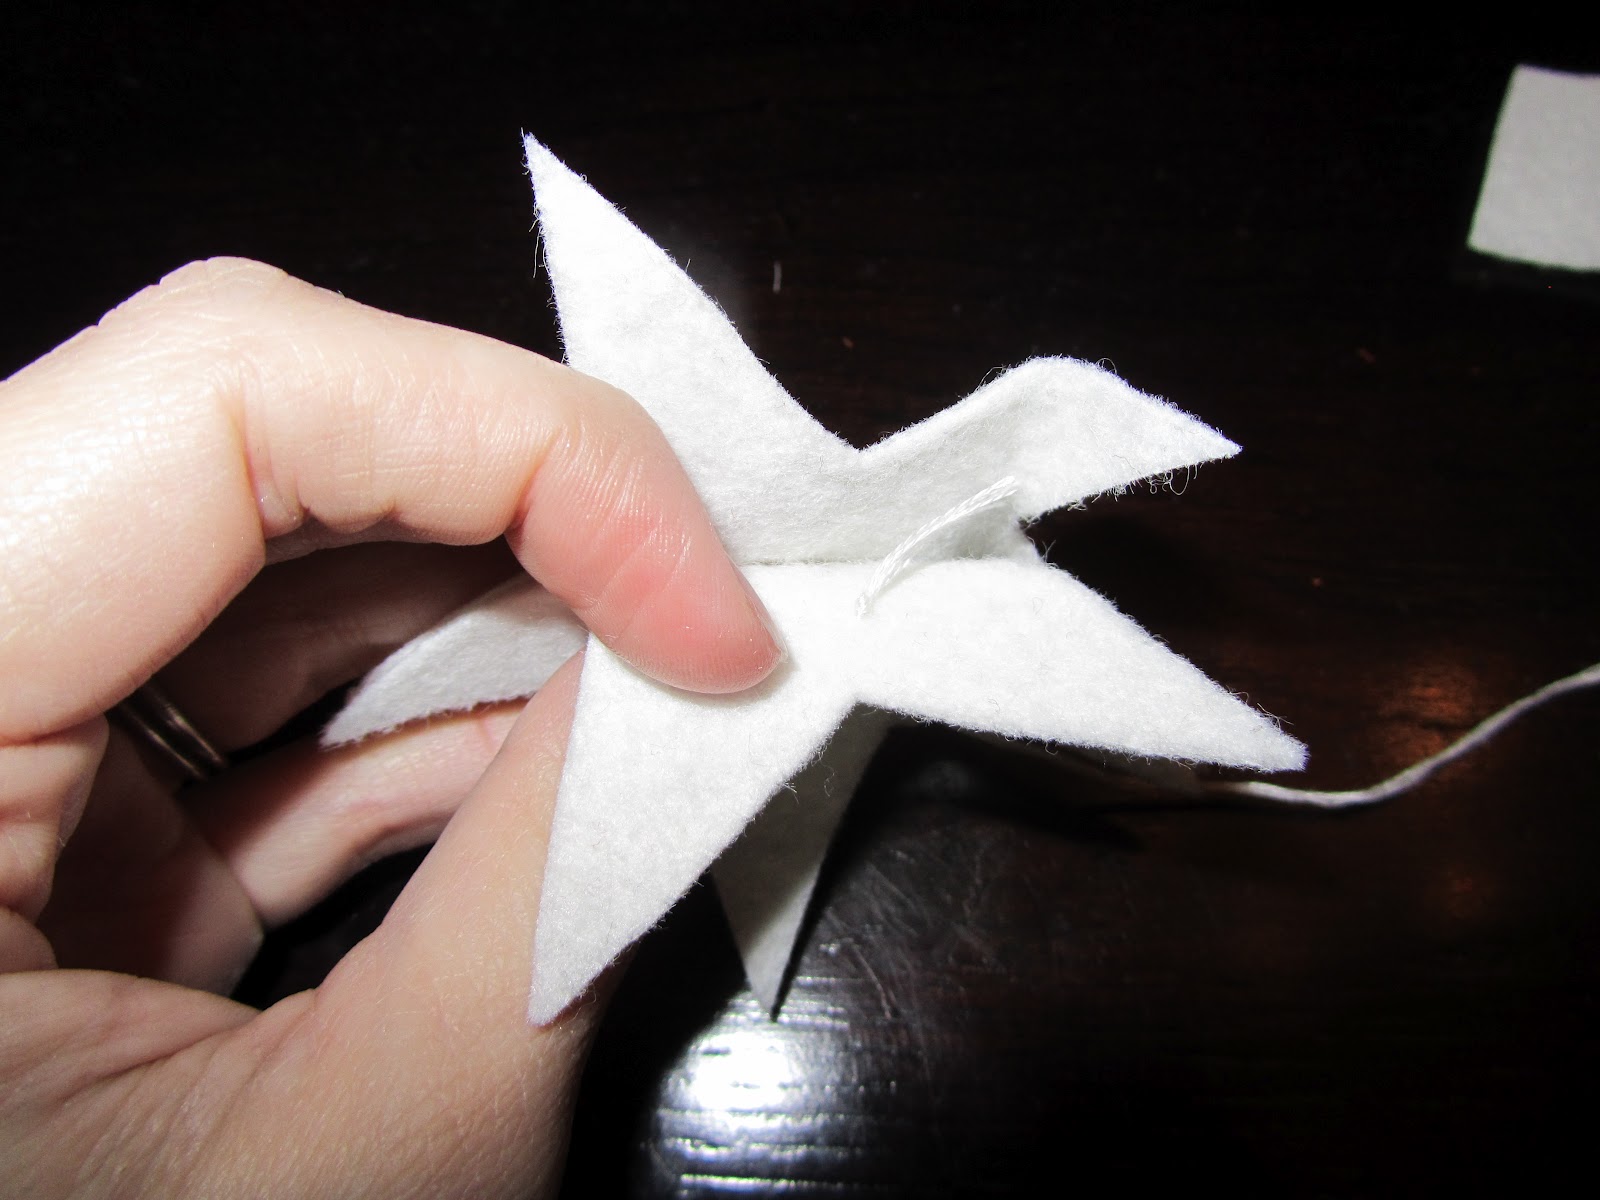
 Using coordinating embroidery floss sew your stars together hiding your knot between the stars. 

 Use a large stitch. Pull thread and knot slightly smaller to give wavy effect to the star. Repeat on all stars.
  Thread stars on red floss beginning and ending with the stars attached to the grosgrain ribbon.

 Hang garland and enjoy!

Don't forget to add your garland to our flickr group!