Showing posts with label holiday. Show all posts

Friday, October 10, 2014

Fall Wreath and Garland

Last year I got back on my kick of making decorations for all the holidays (which had totally gone to pot since moving again and not decorating for a single holiday yet this year... must get out halloween decorations.... ) We don't  really celebrate all the holidays because I just never seem to find the time for that. BUT decorating for them and adding fun bright temporary decorations to the house is totally something I can get behind. 


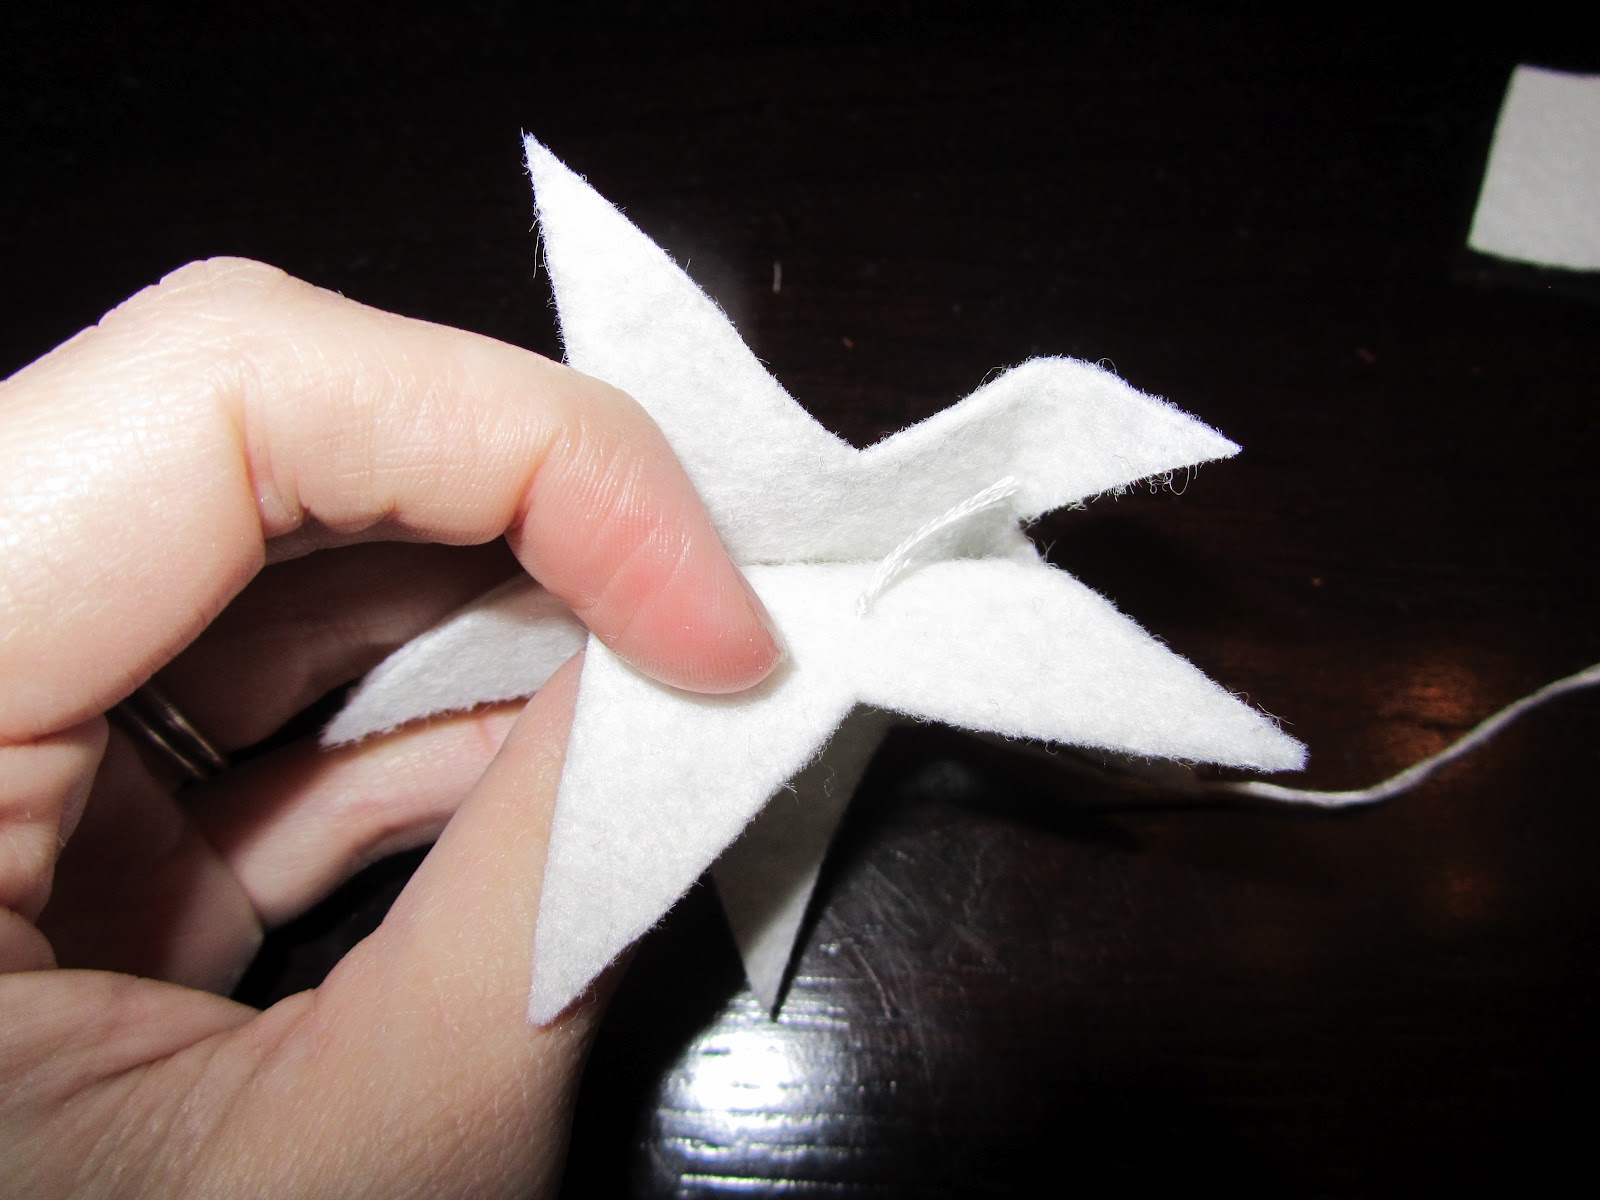
My fall section is severely lacking (as in I have NONE) so I finally came across this idea for a wreath and liked it enough to run with it with a bunch of changes. LIKE for one I am not going to knit a bunch of yarn into sheets and then felt them as the instructions said (I am all for crazy but what is Lion Brand smoking?!?) Instead I spent a ridiculous amount of time cutting out leaves from wool felt and then I washed them all to get the texture. Then I wrapped metal wire in yarn (see that is stupid crazy) and sewed the metal on to each individual leaf. Then I also made felt pinecones and berries... because it seemed reasonable (ahem) - there's more pictures below with progress shots
I also finally got around to making an acorn garland. I gathered the large acorns caps on the trip we took to Tennessee 3 years ago. I used Dad's drill press to put 2 holes in the top of each cap and then strung them on copper colored leather. It was a super fun project except that I really never want to felt tiny balls again... and I currently have a project in mind that would require me doing more of that.... 


Just so you know there are in fact a bazillion leaves on this wreath. And it definitely falls into the things I am so glad I made and never want to make again category!

Saturday, November 9, 2013

Holiday Sale in the Shop


&

Wednesday, February 13, 2013

Valentines

We don't really do Valentines day around here. Usually a fun dessert is all but I love the decorating part, it goes up when I take down Christmas  This year I added the architectural LOVE letters. I decided to save the roughly $20 and make them completely from supplies around the house. It was actually super easy and fun. I did splurge on sparkly Modge Podge (totally worth it!) 

(please pretend I dusted and straightened... or don't lol) 
oh and I found some Red and Pink lights for the Tee Pee- the kids love having lights in there! 
 Last night I made another Hopscotch top for Isabella out of an old GAP tshirt that I had laying around. It took an hour from first cut to finish. I reused the hems to save time. This shirt is so much fun to make and is just so cute! 
 I wanted to get a cute picture of the kids together but instead I got a bunch of them being goofy. But there my kids so I don't know why I would expect anything else. I love these two crazy faces!
 Bella is growing up so fast. 
Who does she think she is?!?


Monday, May 21, 2012

Patriotic Garland Tutorial

Thanks for all of the love for Isabella. We are home adjusting to life as four- it's going very well - just very busy! I will try to get some pictures up for you shortly meanwhile hope you enjoy this scheduled post!

It's been a while since I did a tutorial ... or a garland. This one is pretty basic and will work for quite a few holidays hope you enjoy! 
Supplies:
Red, White and Blue Felt by the yard- 1/8 yard of each color. The larger you want the garland the more you will need mine measures about 10 feet long. 
Red, White and Blue Embroidery Floss
Red Grosgrain Ribbon - 3 feet
fabric-tac
Scissors
Needle

Directions:
Using Pattern pieces cut out stars- you will need 2 cut outs per star. Double your felt and cut them out together to make it easier on yourself. Cut out even amount of every color if you would like the garland to alternate red white and blue. 

 Put together the end stars first. Select one red and one blue star set. Cut Ribbon in half and using Fabri-Tac glue ribbon between two stars.
 Using coordinating embroidery floss sew your stars together hiding your knot between the stars. 

 Use a large stitch. Pull thread and knot slightly smaller to give wavy effect to the star. Repeat on all stars.
  Thread stars on red floss beginning and ending with the stars attached to the grosgrain ribbon.

 Hang garland and enjoy!

Don't forget to add your garland to our flickr group!