I had a custom order this last week on etsy. I've been asked many times to make a toaster cover but this is the first time I actually did it.

I hope it's recipient enjoys it!


 And I am super happy to say that I FINALLY wrote the pattern and tutorial for this! So as soon as it is proofed I will be putting it up in the shop!

 These will be up in the shop at the end of the month.

 These will be up in the shop at the end of the month.

 These will be up in the shop at the end of the month

 These will be up in the shop at the end of the month.

 These will be up in the shop at the end of the month.

 These will be up in the shop at the end of the month.

 These will be up in the shop at the end of the month.
  It 8 inches high and 15 across and the clasp is magnetic- which was totally easy!! It has plenty of room for everything I need. I finally don't have to worry about messing up my brushes when I travel. The side pocket holds only makeup stuff. My toiletry bag is still used for everything else.
 Speaking of the pocket I don't know if you can tell but I totally lined up the fabrics pattern... to bad I didn't think of it on the brushes part! I don't know where that came from because I am SOOO not usually that on top of things! It could be the fact that I picked up some wondertape that my mum blogged about before starting this and let me tell you that stuff changes lives...haha... I had the zipper in and perfect in all of 5 seconds, usually it's twenty minutes of pinning and repinning and fighting with the machine. Buy it!
 I used peltex (or what ever that hard interfacing is) on the outside so it holds it's shape.
 Oh and I hide every seam because I am definitely OCD about about raw edges. I will probably do a tutorial sometime in the future for this... but there's no telling how long that will take me.
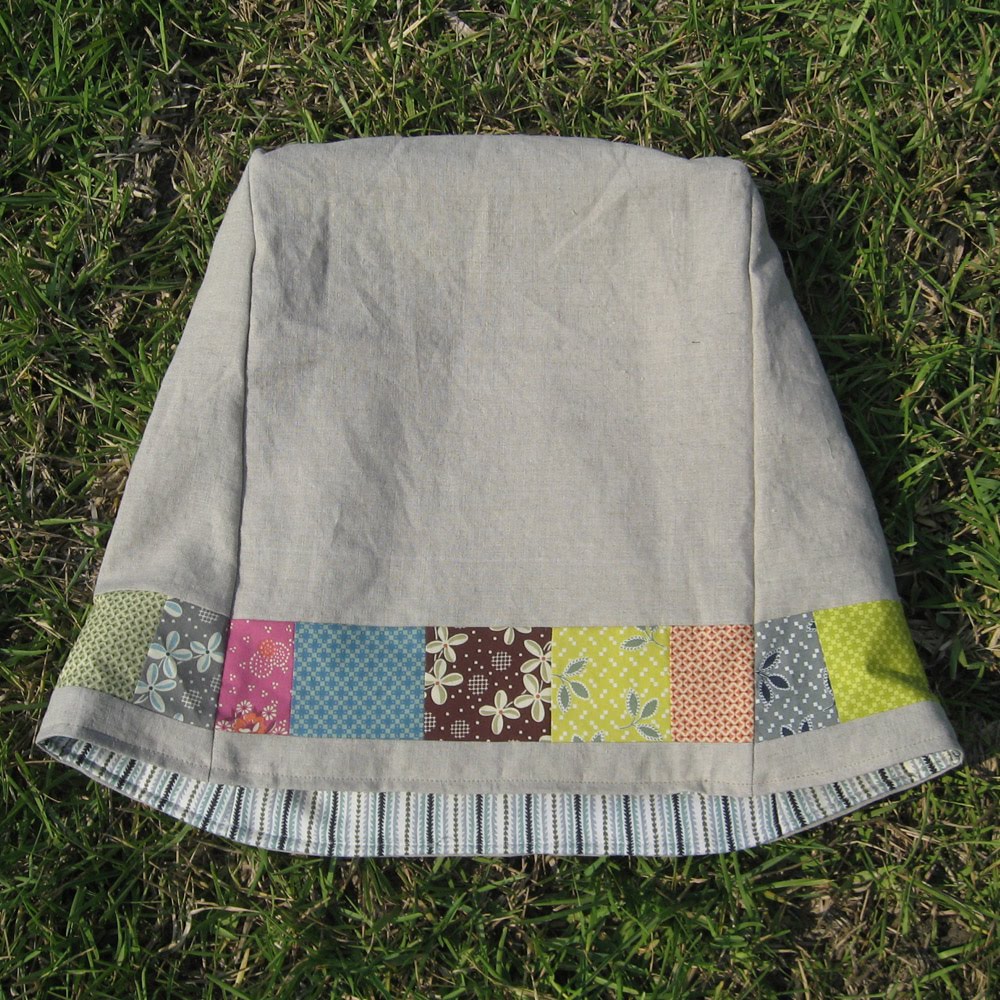
 WIP's I have been crazy busy sewing. There will be a lot of kitchen aid covers available shortly I will show you them over the next week or so. I think I have 7 more. And I am feeling pretty confident with my pattern now so I will hopefully be getting around to finally creating a tutorial for these as well. This one has been so difficult because I will actually need to do a pattern piece... and it's not all going to fit on one page... argh!