Showing posts with label home decorations. Show all posts

Wednesday, December 21, 2011

Christmas Tour {Corinnea's House}

I decorated a little bit last year but my heart wasn't in it. This year, for the first time in about 8 years, I decorated. I wanted to do more, but there's always next year right? 
 I love chandeliers. Decorating them is so fun. Jess found this garland for me at Michael's, I added some mini glass balls and a pearl garland given to me by a dear friend (thanks Vicki!).
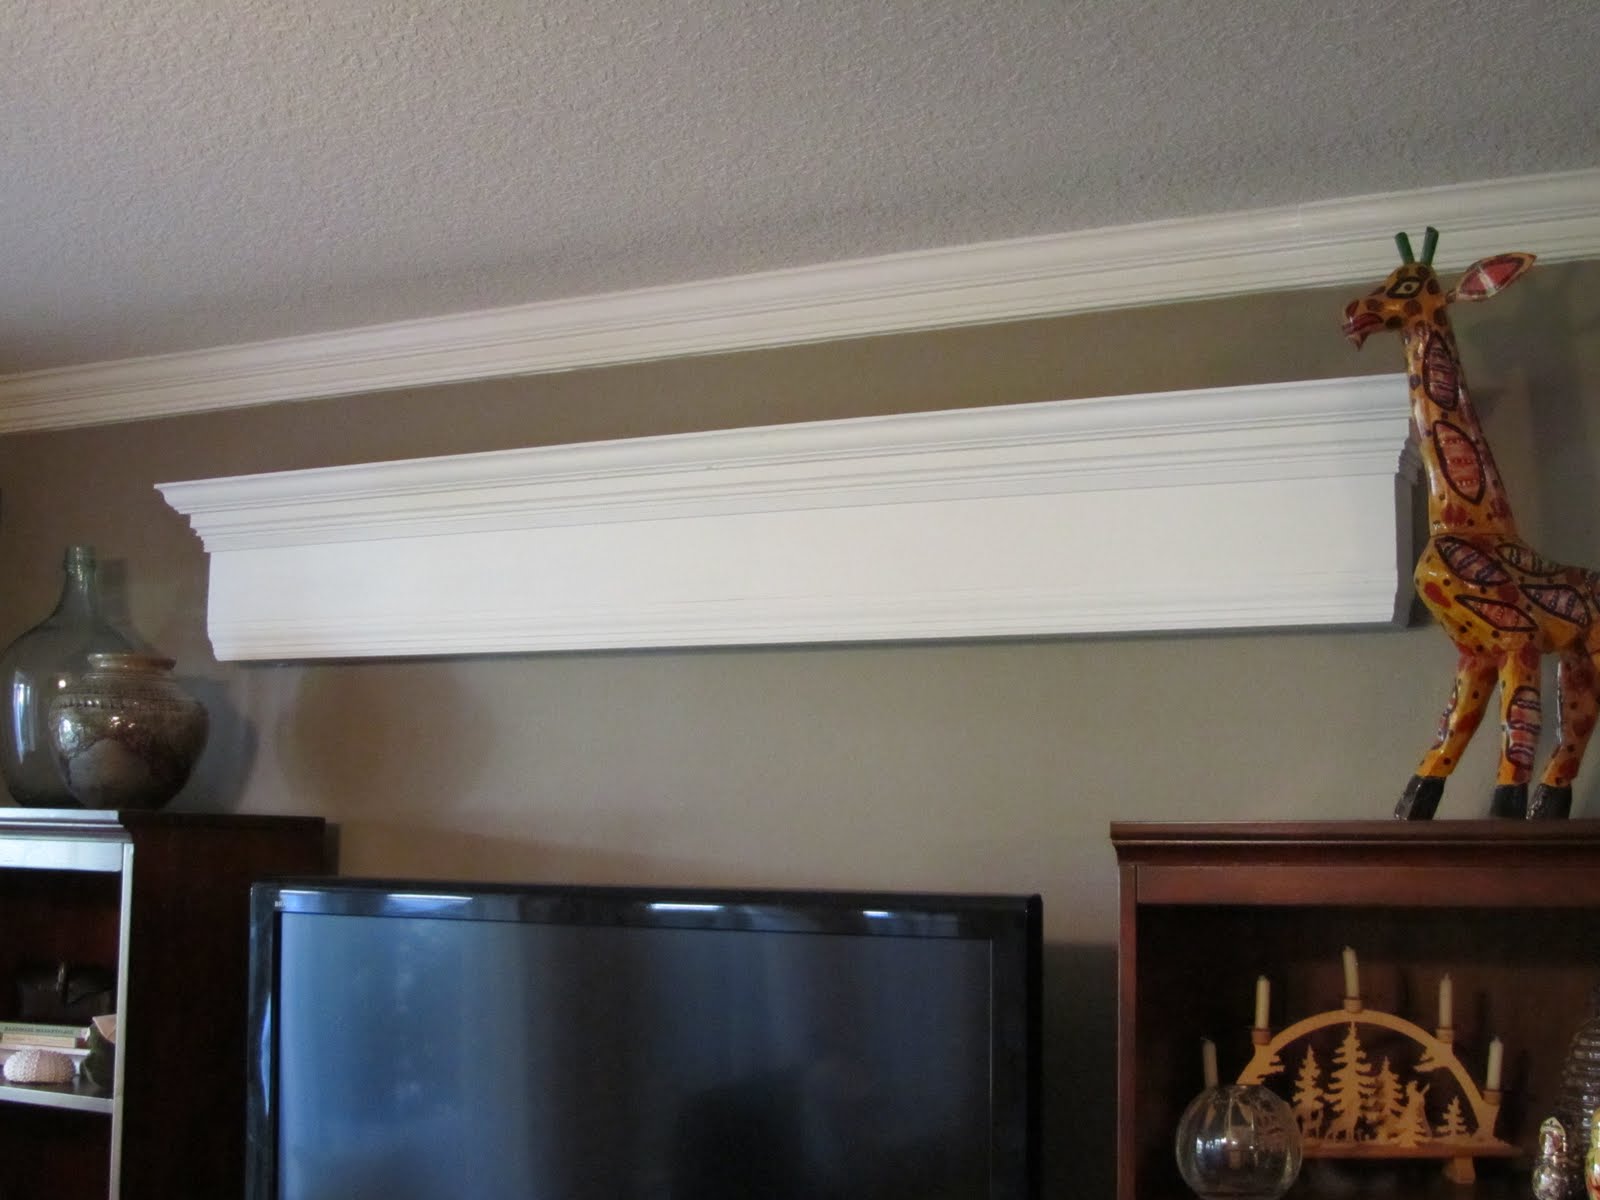
 I bought a tree from Costco this year. This thing better last, just sayin. It comes pre-lit which is amazing. I also received an early gift from my hubby and Jess in the form of a new fireplace surround and mantel! You can see an old version of this area here. Huge improvement no? I kept meaning to do a big reveal but life just keeps happening.
 I love it. 
I love this room. 
No, it's not really cold enough for a fire but I don't care. 
 My tiny German village found a home on the top of my cabinets. I may leave it up for awhile. I'll add green rolling hills when spring comes. 
 I have these cool mirrors gifted to my by my mom in law. Jess accessorized it with my ridiculously heavy glass balls I collected in Germany. 
 I even pulled out the snow babies this year. Anyone else ever collect those? I guess I should have taken a closeup.... they are frolicking on top of the hutch.
 This is a favorite view of mine. I love the layers.
 For my dining room chandelier I placed two dowels across the opening and strung a million balls from them. I may leave these up year round too. 
 This wreath is new. I found it at Micheal's and embellished it with the ribbon and sparkly purple branch things. I strung small snowflake lights through it but forgot to turn them on for the photo. Target had a cute selection of battery lights this year. 
This is my view as I sit here and write. Well, except now my feet are propped on the table and the coffee is almost gone. 
Thanks for taking my little tour. 

Tuesday, December 20, 2011

Christmas Tour { Jessica's House }

*oops! forgot to post this!*
We just thought it would be fun to give you a Christmas tour of our houses... mine isn't much different from last year but I tried to tweak everything just a little to make it fun and fresh

The biggest change was the ribbon. I went to Michaels in search of the ribbon I bought last year, I just needed a little bit more. Wouldn't you know I actually found it... but I also found this beautiful glitter ribbon. And since it was on sale and the stuff I bought last year wasn't I decided it was be meant to be! 
This stuff is gorgeous, it sparkles like crazy. 
I redecorated my chalkboard wall. There was a slight issue with the chalkboard pens... apparently if you leave them on the wall for over a year they don't wash off... which is why I keep redecorating the same trees, it's not a big deal- it's actually kind of fun- I just wish I had done a better job drawing them!!
We have a cousin (2nd?... not sure) that knits everyone stockings.  Mine went missing sometime after I moved out... I've been searching for it for 7 years (seriously I know that it is SOMEWHERE!!) so I finally broke down and asked and she was kind enough to make and ship me a replacement in less then a week. Which is unbelievable awesome and kind of her. I am no longer the lone stocking-less person in the family (boy does that sound akward).

And just to source a few things- because I always want to know when I see things on blogs
The garland and wreath are from Ballard Designs and is super realistic looking I want more!
The snowflake lights are Smith and Hawkin from Target - a few years back. 
The glitter pine cones are from Crate and Barrel - this year. 
The LED lights on the wreath are from Target - this year
My felt garland from last year was relocated from last year- I think I like it here better!
And my favorite the tree. Which is from Costco and I LOVE it. And yes I decorated it with all the same ornaments as usual we just put the less breakable ones at the bottom. Micah has been doing pretty well with the don't touch command- not that he is perfect or anything!
And since I never send out Christmas cards.... Here's a family shot for everyone!

Monday, September 19, 2011

Stairs

I have been totally jazzed by the numbered stairs that have been all over the web. I have yet to see a place that lists vinyl numbers specifically for this purpose (I think pottery barn kids may have had them at some point) and everywhere I looked into having them done seemed a little excessive... so I figured a DIY was in order
It took me a little while to think of an easy way to accomplish it but it finally hit me- black contact paper. I found it off of Amazon for somewhere around $11 (I actually bought the chalkboard contact paper because it had better reviews). 
Then I played around in Publisher until I found a font I liked and a good text size. After that it went fast I just laid out my printed numbers on top of the contact paper and cut through both  layers with an exacto knife. 
With just a little bit of measuring they all went up super fast. They have been up a few weeks and they continue to look good and are staying stuck. I would suggest cleaning your stairs very well so there is no dirt to get in the way of your sticker sticking. I took this opportunity to finally fully paint my stairs since I was so sick of painting when we originally refinished them that I had never bothered to finish .... and then forgot all about it. 
I barely used any of the contact paper so I see more projects in the future. Martha Stewart has all of the neat holiday silhouette stickers at Michael's so I might have to try my hand at something like that. 

Wednesday, August 24, 2011

Vintage Skis = awesome

We've been on a role fixing problem spots around the house. Today is more of the same (no the problem is not Smokey... sorry if he offends anyone) the wall above the stairs is very narrow and long and I have been trying to figure out what to hang there for 5 years... 
Our friend Kris left a pair of vintage skis at Mum and Dads and since Dad already has a set I stole them. 
 We used this tutorial to hang them. I LOVE the way it turned out. And it is definitely fitting in with our travel outdoor theme that is going on in the hallway
 And yes I do think that people from Florida who come over don't really get our house... Who am I kidding probably no one from anywhere gets it... but our homes are all about what make us happy right?
And these make me super happy... and Kris can have them back when ever he wants but he'll have to get them off the wall all by himself

Wednesday, August 17, 2011

Uber's crafty

This wall has been bothering me forever.  It's very frustrating to have all of your furniture purchased and still feel like your space looks unfinished. We have 9 ft ceilings in our downstairs and something was needed above the TV. 
I had saved a few images for inspiration-  (sorry I don't know where the top one is from) 
  And asked Uber super nicely if he would build me something, lucky we had a bunch of scrap molding in the garage from old projects so this was a great way to clear some of it out. I think this project ended up costing about $9.  
 Here it is close up. I did distress it ... but apparently not enough to really show. What made it even better was the next Pottery Barn catalog I received in the mail had this $400 version which seems a little ridiculous to me but I was super happy to show it to Uber so he could see what an awesome job he did.
 And here is the wall as it looks now. We raised the TV up about 5 inches since we both had never been happy with the height and I switched out the picture for this mirror.
 I'm not done accessorizing yet but I'm slowly working on it. The giraffe by the way is Ubers gift to Micah from a recent trip to Central America.
I have a bunch more house projects to show you so stay tuned!

Tuesday, February 1, 2011

Chalkboard Paint = hours of fun

I have a few  plans to update our house this year- just fun smaller things to spice things up a little since I am home all day. The first thing I wanted to work on was our entry way which I have never really done anything with. It's pretty small so there isn't much that can be done but it went from this:
 To this:
I used chalkboard paint to make the area a little more interesting. Below the cork cork board I also put a few layers of magnet paint so now the fridge magnet letters can be used here as well. I drew birch trees on the one wall but I plan to switch it up through out the year... or really just when every I feel like a change. Also I bought chalk markers which write on the walls much better than just plain chalk and they don't come off unless you use water- so no worries about someone brushing the wall and being covered in dust. 
 This is behind the front door Mum and I found this fantastic HUGE mirror at Home Goods for a ridiculously low price- I have been looking for a mirror for here forever and hadn't found anything I loved and was affordable. The frame is really neat. And now I can get one last peak at what a mess I am before I leave the house.
 A better view of the cork board/magnet wall. That is Micah's silhouette down there, his grandparents traced him!
 So another room that has been bugging me for a while is this small half bath its very narrow which makes putting artwork on the big wall that you face when you walk in difficult because it feels like its in your personal space- Excuse the OLD photo I forgot to take a before so this is a pre new flooring photo!
 Chalk board paint now covers this wall to- so yeah i am totally embracing the writing on stall walls look in here. Weird - probably but it's a lot of fun.
 And anyone is welcome to add decorations - infact the walls are a lot more decorated now than when I took this picture. I figure I will wait until it is filled up and then think about erasing and starting over.
 Here's a view of the other side of the room. It's just impossible to get decent photos!
And if you have ever wondered  it may not seem possible but you can in fact fit 3 adults and a baby in this room.... 

I know this look wont be for every one but it has been fun for us and a quick coat of paint will put it all back to normal if I should get bored with it-- that's what I had to tell Uber when he walked in from a business trip to see half painted black walls in his house... I realized I hadn't really run the project by him... SURPRISE! But he ended up really liking it so I guess it is a good thing I forgot to ask because talking him into it would have been hard (apparently)

Friday, January 28, 2011

Box of Chocolates Garland Giveaway *and the winner is*

 I want to thank everyone for participating in my giveaway and welcome everyone who is new- I hope you continue to visit because I have a lot of fun things planned! 


So without further ado the winner of the garland is~

The winner has 5 days to contact me or a new winner will be selected.

I really hate that I can't give everyone who entered a garland so I put together this tutorial for you and I hope you will make one for yourself! If you do please add it to my flicker group so we can all see!


Please do not sell anything made from this tutorial it was provided free to you for personal use only. 


Materials and Supplies
dark and light red felt*
white felt*
dark and light brown felt*
DMC Embroidery floss: (2) red, (2)brown, cream
4 feet brown grosgrain ribbon
1/8" wide brown ribbon - length of garland
scissors
pinking shears
hot glue gun

*wool felt or a wool blend felt work best for this project. If using acrylic it's best to use felt by the yard as opposed to the small sheets of the felt. Felt by the yard is a thicker product and will hold up better with the embroidering. 

Instructions
Each heart will need two base hearts in addition to the top layer (if top layer is desired). Use one of the templates to cut out all three layers

 Use your scissors (or pinking shears) take the top layer and cut the heart smaller. Be sure to keep the shape of the heart consistant.
 Use your scissors to do the same to one of the base hearts. The heart you cut down will be used as your backing heart.
 When you layer your two base hearts they should look like this.
 The three hearts should now look like this.
 Take the top heart pair (on the left) and embroider as desired
Below are some ideas for decorating. 
*Helpful hints*
My personal preference is to use all 6 strands of the embroidery floss.
On the undecorated cream hearts  I use 3 layers since the cream felt is slightly see through

 When you have finished decorating all of the hearts, lay them out making sure the garland will look well balanced when its completed.
To prepare the ribbon. Sew 1/8" ribbon through the grosgrain and tie it off.
 Using your hot glue gun pipe a line across the top of the heart. Make sure to put the knotted ribbon far enough into your heart that the backing will cover it.
 Pipe hot glue onto the backing heart and let cool for just a second,
 then sandwich your ribbon so all of your thread and ribbon is covered.
 Continue adding hearts to the ribbon until the garland reaches the desired length. Repeat the ribbon tie off on the opposite side of the garland.

Start decorating!
And please don't forget to add your project to insanely crafty's flickr group so we can all see!