

I finally got my act together to participate in the Summer Pinterest Challege hosted by Young House Love, Bower Power, Centsational Girl, and Ten June (love them!). Since I am completely addicted to Pinterest it's awesome that someone has taken the initiative to get everyone to actually do something with their pins.
For my project inspiration, I originally pinned a teepee featured on Happiness is Eva, who I started following after she used my garland for her daughters first birthday party. Hers was purchased from Angel at my Table which is an Australian company. I loved how beautiful and finished it looked. So after much additional perusing of available children's Tee Pee's I knew this was the one that I wanted to reproduce.
My version--

I am thrilled with the way it turned out. I looked all over trying to see every random picture of these Tee Pee's I could find to figure out how they put them together. I finally lucked out when I found (duh!) the assembly instructions at their site. It filled in all of the details I wasn't sure about.

It's large enough to grow with him as he gets older. (Uber and I can sit in there with him comfortably now...at the same time...) It's roughly 8 feet tall (to the top of the poles), 68" tall inside and 60" across at its largest point.
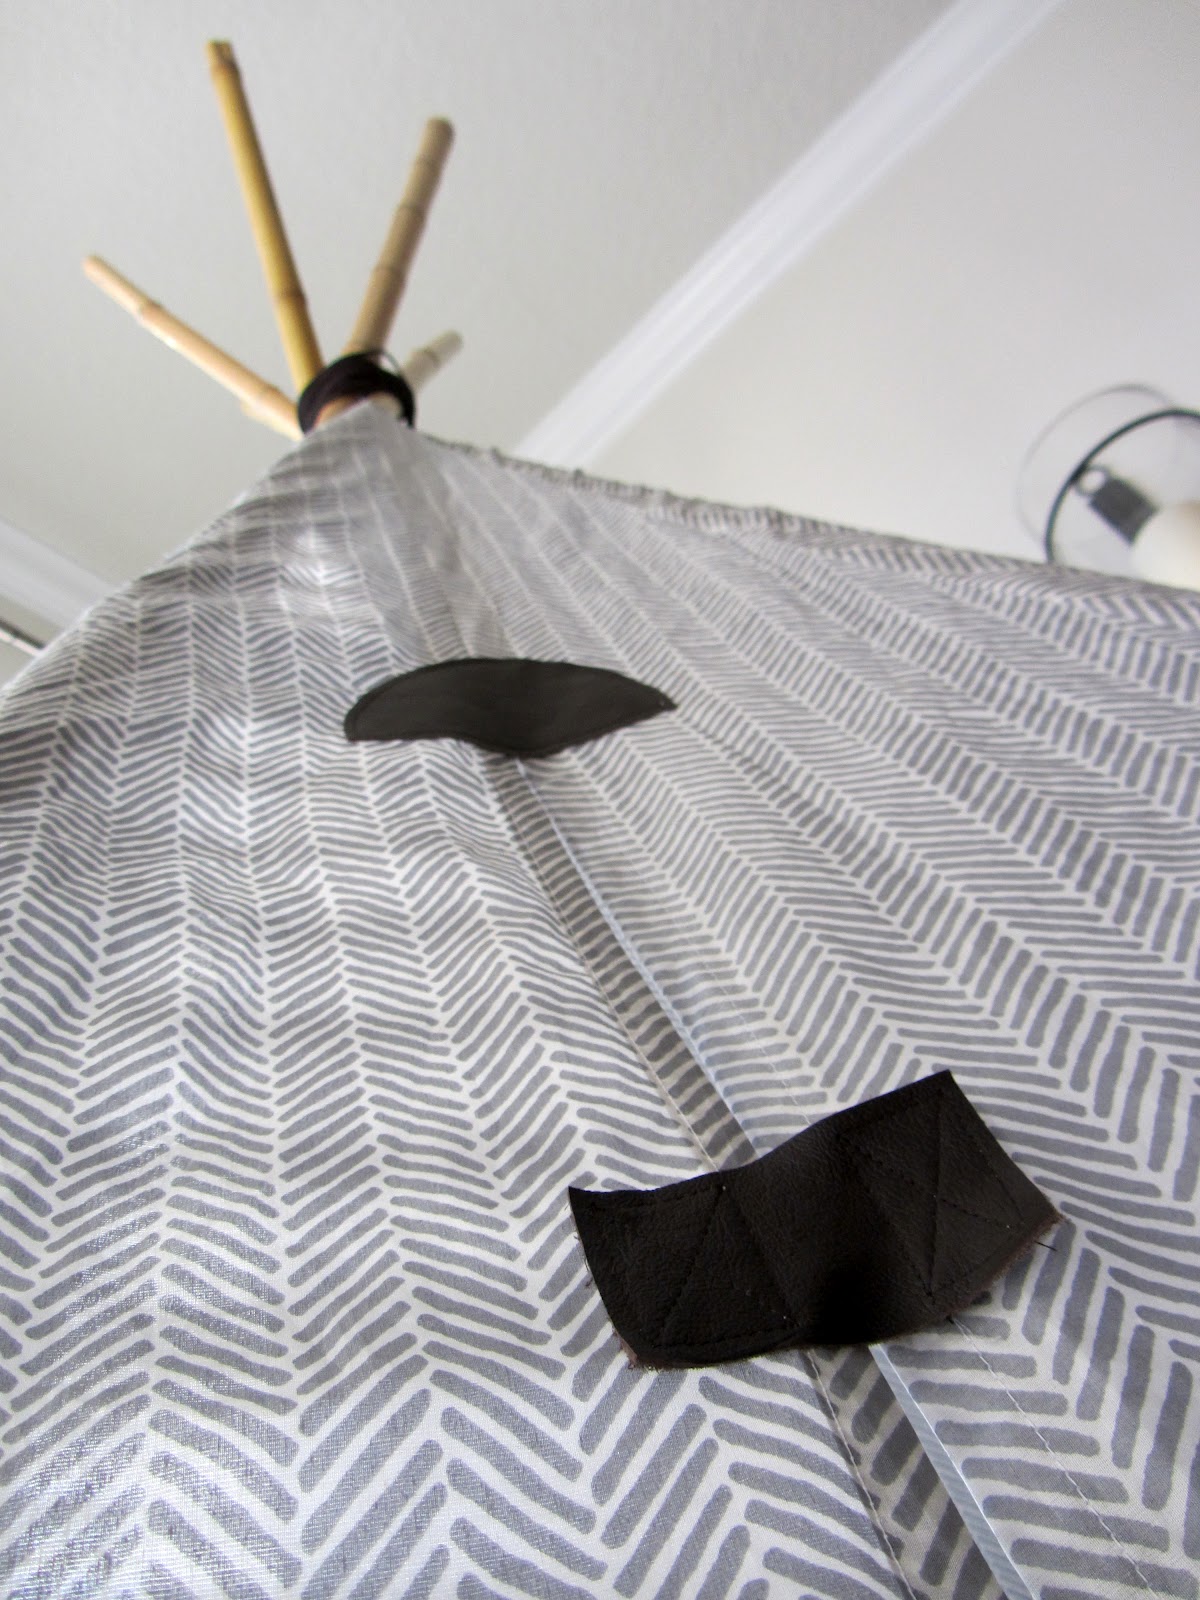
I used a set of herringbone sheets (found at target), 5 bamboo poles, 5 dowels, 5 cord stops, clear vinyl plumbing tubing, cotton clothes line rope, velcro, scrap leather and leather cord to create my own version of the tee pee. It ended up running around $70 in supplies and took about a week of nap times to finish.

close up details. Seriously I think the photo below is my favorite.

It was completely worth it to add such a fun (and I think stylish) play space to our living room for Micah. It sits in a corner that was wasted before and lucky him it has an awesome view of the TV. The adults in the house (and most who visit) may or may not spend time in there hanging out and wishing it were theirs.
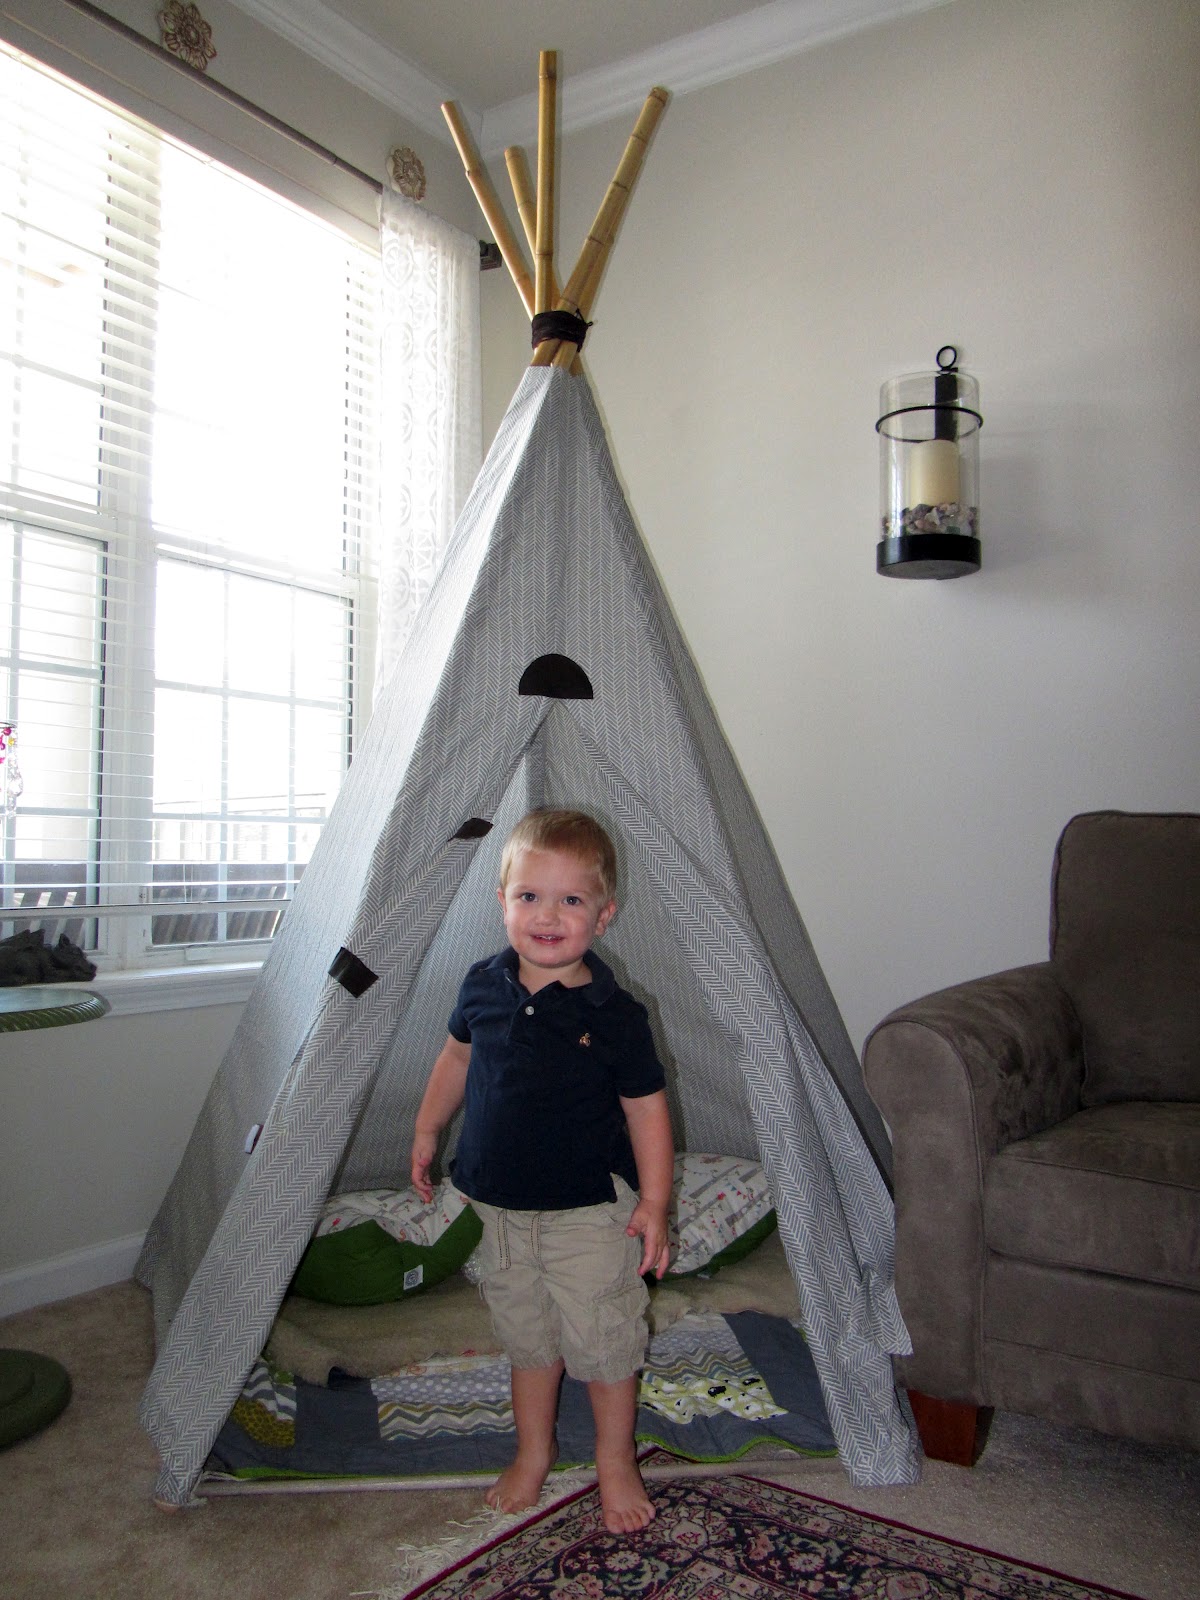
the lucky little boy!
Thanks for visiting!

It looks awesome! Lucky little boy, indeed! Also: he's HUGE!!! When did that happen?
ReplyDeleteWhat a cool hideaway spot.
ReplyDeleteThis turned out so amazingly good!! I made a teepee for my little guy too. I used a different tutorial, but I think the end result looks fairly similar :)
ReplyDeleteYou made the coolest teepee ever! The design of it is really brilliant, love how the poles are covered on the inside, perfect hidey spot to read books, great job Jess!
ReplyDeleteAdrienne- I know he is growing so fast! I feel like he is already a little boy and he isn't even 2 yet! Makes me sad and happy all at once!
ReplyDeleteI want a teepee for my toddler too, they are so expensive though. Wish I had sewings skills like you do.
ReplyDeletelooooove it! perfect for the living room! It looks like a magazine spread. Perfection:) I got that book Growing up Sew Liberated and it has a teepee in it. I've been thinking it needs to be made and your makes me want to do it even more! Is it sturdy? the girls have ruined two nylon ones from the German kids store by rolling in it. Obviously they would not be rolling in this one but I wonder can it hold up to an Ava??
ReplyDeleteThis is so much fun! I love the fabric that you used.
ReplyDeleteThanks! I was so excited when I found the print!
DeleteVERY COOL!!! What a great idea.
ReplyDeleteMe likey. I will definately sit in there with him.
ReplyDeleteCrazy aunt Cindy
Because you're an awesome aunt!
DeleteJennifer-
ReplyDeleteThanks!
So I looked up the book to see the pattern and I would say if you
Are planning on it being an inside toy then probably not. I did a floor 'support bracket' for ours - part of the reason I liked this version so much- But before I got that completed and tied together micah knocked the structure over quite a few times. But you could easily make a floor support for her pattern. Check out the websites instructions and if it's not clear I can send you pics of mine to explain it- if you want. It hasn't been knocked over at all since I finished it. It has pulled out of part of the support loops so I know he's messed with it and it worked.
You have the most very cool ideas. What a lucky boy he is. Love the TeePee.
ReplyDelete