
So April's tutorial... 4 tutorials this year can I keep this up?! I'll try to make next months not kid related...
I LOVE this book I think I like it better than the color book. I REALLY enjoyed the process of making this one. Though I am very happy to say I am done with it too! And someone suggested an alphabet book which is a fabulous idea but I am taking a break from books for a while at least especially since that would only be a larger project!
Please do not sell anything made from this tutorial it was provided free to you for personal use only.

1/2 yard linen fabric
1 yard one-sided fusible interfacing
wool felt
(2) Black and (1) red Embroidery floss
Fabric Paint (orange, green, blue)
Freezer paper
X-Acto knife
fabric marker
graphite paper/Embroidery tracing paper **helpful note I tried two methods of tracing the DMC embroidery tracing paper was my least favorite. I would recommend getting graphite paper (which I found at Michaels, MonaLisa Art Products by Speedball) It transfered with one firm trace and the transfered image had dark crisp lines.
5" embroidery hoop
Linen
(10) 8” x 8” – Pages
(1) 16.75 ” x 8” – cover
(1) 8” x 2.5” - inner cover
(4) 8” x 3” – binding
Interfacing
(4) 7.5”x7” - pages
(1) 15.75” x 7” – cover
Directions
1. Use your preferred method of embroidery tracing and trace the title page wording to the cover making sure to center on the right side of your cover fabric.
**my preferred method is actually this graphite paper I bought mine at Michael's it's what I traced the hands with further in the tutorial. (I would not recommend the DMC Tracing paper.)

**my preferred method is actually this graphite paper I bought mine at Michael's it's what I traced the hands with further in the tutorial. (I would not recommend the DMC Tracing paper.)

To make centering the template easier I trimmed the edges off my template to 1/2" past the line.

Then I was able to lay my template directly over the linen and line up the edges.


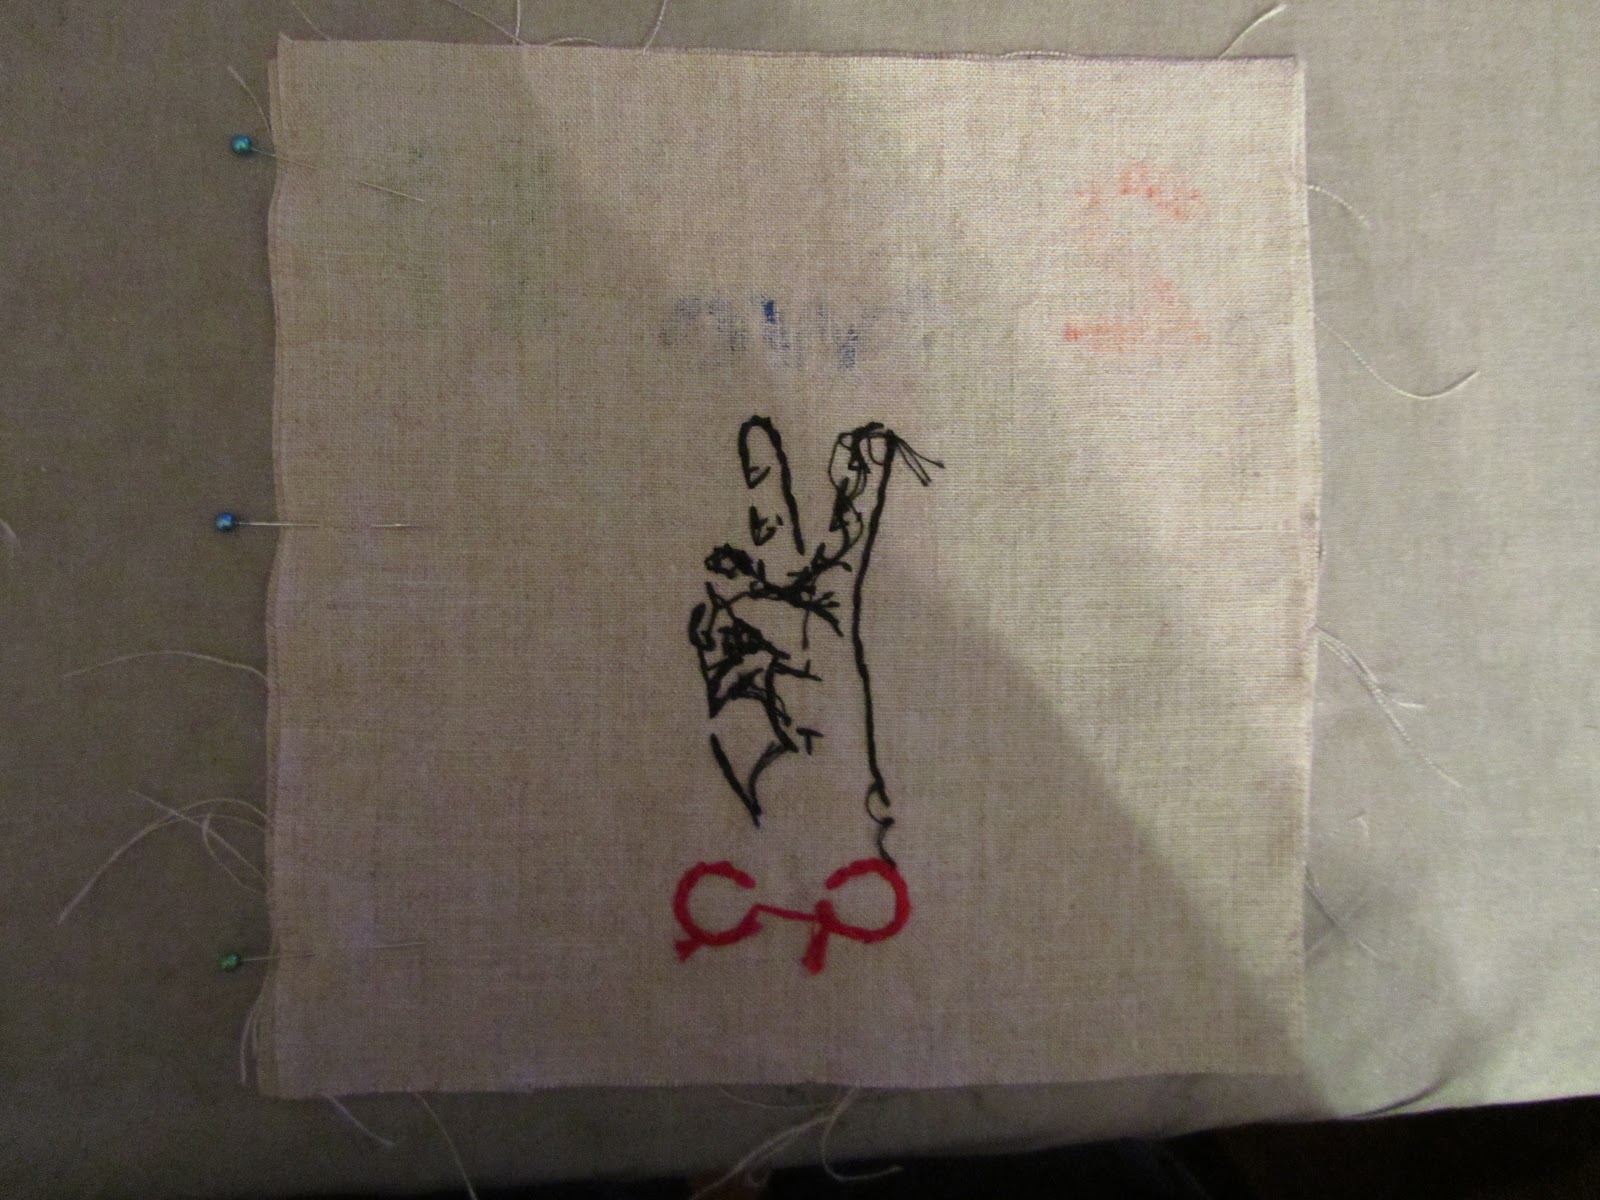
2. Use a backstitch over the top of the outline.

3. Using your template trace number, word, and roman numeral onto freezer paper. Make sure to mark the top corners of you page on your freezer paper.


Pin the one side that should be sewn.


Flip page right side out and press
 11. Using the 4 cut binding strips bind the unsewn edge of your 4 pages.

First fold each piece in half and iron, then fold down the top and bottom of each binding piece to make a 7" strip. Pin to the unsewn side of the page and sew a 3/8" seam allowance. Press seam. Snip page edges and fold in binding corners. Pin in place and sew down.


Great job on the tutorial Jess. I love your color book but I think I do like this one the best; I love the hands. And I think it is very creative how you gave each number 5 elements. Love it!
ReplyDeleteYour book is amazing Jess!
ReplyDeletethis one is my favorite too! And so cool you gave a tutorial.
ReplyDeleteThis is so clever. Did you find the hand pics online? I ask because I want to add this to the back of a birthday quilt I'm making for a friend that will say "I'm this many" and have the five and zero hands. I need to find a zero hand =)
ReplyDeleteThank you for sharing your talent and I love the blog!
OMG!!! I love it!!!
ReplyDeleteMany, many thanks for share!!!
All the best!
xxx
Liuba